StuInfo is your gateway to academic records, resources, and tools at Michigan State University. The Student Information System (SIS) supports students throughout their academic journey at MSU as well as the staff who assist them.
For this academic year, additional activities and academic tools will be phased into MSU SIS. Learn more about the upcoming changes after logging in or by visiting sis.msu.edu.
Table of Contents
How to log into msu stuinfo portal
First, make sure that your student created a guest account for you and that you followed the
instructions in the activation email, then login to MSU StuInfo by following these instructions:
- Go to StuInfo via stuinfo.msu.edu.
- Enter your Community ID (i.e. your email address) into the MSU ID field.
- Enter your password.
- Click the Login button.
- You may use the Community ID Self Service page to unlock your account, reset your password,
or change your email address.
Check Out: MSU Academic Calendar, Important Dates and Deadlines.
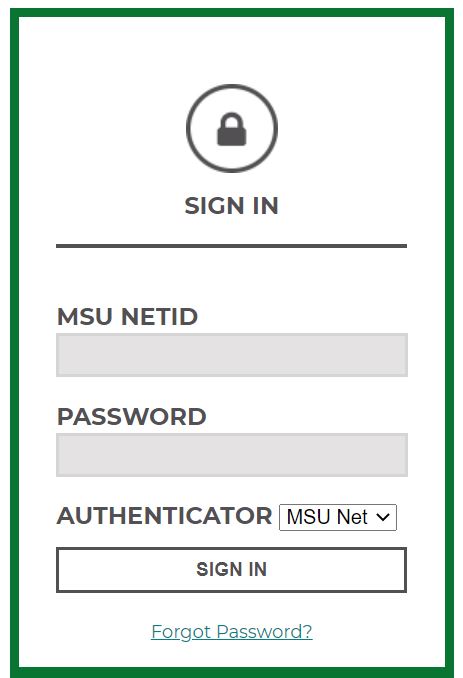
How to log into StuInfo using a guest account
- Browse to stuinfo.msu.edu.
- Enter an activated MSU Guest Account (full email address) in the MSU NETID field.
- Enter the password for the MSU Guest Account.
- Leave the Authenticator drop-down as MSU Net.
- Click Sign In. If logging in for the first time, a FERPA (privacy) statement displays. Enter:
- The student’s MSU NetID. (NOT the full NetID@msu.edu email address).
- The guests’ first and last names. This must match exactly what the student entered when they created the guest access.
- Navigate to the student’s information.
How to activate MSU NetID
To get started as a new member of the MSU community, you need to set up your MSU NetID. Your NetID is an electronic identity at MSU and serves as your login to many Michigan State University computing and networking services such as MSU StuInfo.
What is an MSU NetID?
MSU NetIDs are assigned to all current faculty, staff, students, and retirees. A NetID is a unique alphanumeric identifier auto-generated from the user’s name.
Your NetID is your identifier at MSU and serves as your login to many university computing and networking services. Your NetID also determines your MSU email address which is netid@msu.edu (e.g. the NetID sparty would have the email address sparty@msu.edu).
Getting started with MSU NetID
- Find your student ID number (APID) and your PAN. Your student ID number begins with the letter “A” followed by 8 digits. Your PAN is a 4-digit number. These numbers were provided to you when you were first admitted to MSU. If you are a student and do not know your PAN, you can find it in your applicant portal.
- Activate and set up your NetID by using your APID and PAN numbers. This will require you to create a password.
- Register for Self Service Password Reset.
- To log in to your MSU email, visit spartanmail.msu.edu.
Note: there may be a delay of up to 15 minutes after NetID activation before Office 365 mail is available for login. - Visit the Technology Resources for New Students page to learn more about connecting your devices to the network and other technology resources available to you.
What is the MSU financial aid portal?
Loans can be accepted in the Financial Aid Portal. The Financial Aid Portal is accessed by logging into Student Information System and clicking the Financial Aid tile.
To accept or decline your financial aid,
- Navigate to the Financials page and view the financial award offer
- To take action on the displayed financial aid select one of the following:
- Adjust my funding
- Update Acceptance
- On Step 1 – Awards Summary, select the button stating “Start Loan Acceptance”
- On Step 2 – Accept your Awards, select one of the available options
- Accepting the full amount of loans available
- Accepting a reduced amount of the loans available ***Note: If you select this option you will be prompted to enter the total loan value for the year
- Declining the full amount of the loans available
- On Step 3 – Confirm your awards selection the page will differ based on what is selected in step 2. At the end of each option, the student should select continue.
- If you accepted the full amount, you can continue with the award allocation as shown or edit the amounts for each term to the full amount of the award selected in Step 2.
- If you accepted a reduced amount, you’ll determine the split of the award for each term to equal the amount selected in Step 2.
- If you declined the loan the possible options are:
- If there is enough aid to cover the cost of attendance you can continue to the next step.
- If there is not enough aid to cover the cost of attendance you will be prompted to return to previous steps to accept aid.
- On Step 4 – E-Sign, students must accept the econsent acknowledgement and sign the page using their student ID and last name
- On Step 5 – Done, students will receive confirmation of their loan actions.