The myUCF portal is an online student portal for all personal records, academic history, and financial aid information at the University of Central Florida. It is accessed with your NID and NID password.
In this guide, we’ll look at how to access the UCF portal, how to check your admission status, and how to add and drop courses. Read on.
Table of Contents
How to log into myucf
To access the University of Central Florida portal,
- Navigate to my.ucf.edu on your web browser.
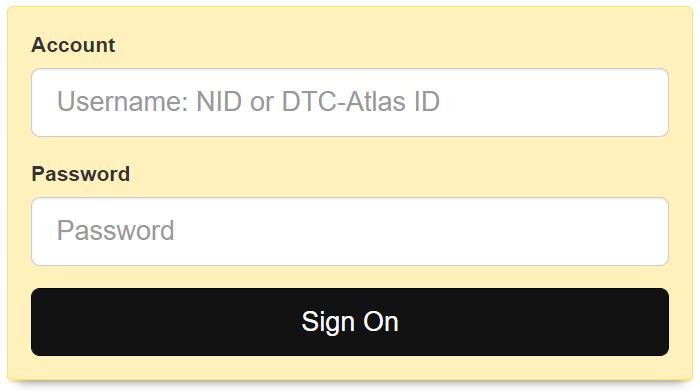
- Click the Sign On button at the top left of the page.
- Enter your NID.
- Enter your NID password.
- Login to access your personal records.
- To log in on a Mobile Device, navigate to m.my.ucf.edu in your mobile browser.
- Login with your NID and NID password.
- The myUCF portal now have a slightly new look and new navigation option after the scheduled maintenance on March 20, 2021.
Sign in to myUCF to register for classes, access your grades, view important dates on UCF Academic Calendar, update your personal information, and more. Find out how to access UCF Knights email.
The myUCF portal provides the following services:
- Search for and enroll in courses.
- Update contact information.
- Review your financial aid.
- Pay your tuition.
- Track your progress toward graduation with myKnightAudit.
- Check your final grades at the end of each semester.
- Manage your account Holds and To-Dos.
- Request official transcripts.
What is NID?
When you first join the UCF community, the UCF system generates your Network ID (NID) by semi-randomly combining two letters with unique random numbers. Your NID is your unique user ID and will never be assigned to another individual.
You can use your NID to sign on and access many University systems and resources such as the ucf.edu portal.
Your NID’s primary purpose is to electronically authenticate you to UCF systems that contain your sensitive UCF related data. You must take precautions to protect your NID and NID password by not sharing it with anyone.
NID account locked?
Your NID may become locked due to repeated automatic sign-on attempts made by devices, computers, or websites using an old password. Follow these steps to prevent and fix future NID account lockouts:
- Delete or “forget” any UCF wireless networks on your wireless devices (e.g., smart phones, tablets, laptops, game systems, streaming hardware, “Internet of Things” (IoT) devices, etc.)
- Delete or clear any saved passwords in all of your device’s browsers.
- Delete any operating system saved password repositories. Take care to remove any saved Outlook client passwords.
- Sign out of all services (email, wireless, myUCF, Webcourses, other UCF webpages, etc.) that may be storing your NID credentials.
- Log off and power down all devices.
- Reset your NID password.
- Turn on devices one at a time and update them to use your new NID password. Take care to update mobile device wireless and email accounts separately.
- If your account locks after powering up the most recent device, that device may still contain a saved password. Try the steps again leaving that device powered down.
If your NID account becomes locked or your password has been changed without you initiating the action, please immediately contact the UCF IT Support Center at 407-823-5117 and alert the Security Incident Response Team at SIRT@ucf.edu.
What is UCFID?
When you first join the UCF community, the UCF system generates your UCFID (sometimes called EMPLID). Your UCFID is a unique random number that serves as your primary identification within the UCF system.
Your UCFID links your student, staff, or faculty records which contain personal information as well as grades, schedule, employment, payroll, and other data. You cannot use your UCFID to sign on to any system at UCF.
Use your UCFID when identifying yourself to a UCF office that is accessing your records. For example, they may ask for your UCFID when scheduling an advising appointment, checking out a library book or when an employee is working with HR.
How to add/drop courses in myucf
You can add and drop courses through the myUCF portal at https://my.ucf.edu
- Log into myUCF with your NID and NID password.
- Click “Student Self Service” and select ” Student Center”
- If you want to add classes to or drop classes from this schedule, click either “Add Classes,” or “Drop/Withdraw Classes.”
- Click “View My Schedule” to see your new class schedule.
- If dropping classes, select “Drop/Withdraw” within the Action box adjacent to the course(s) that you wish to remove from your schedule.
- Click “View Fee Invoice.” Be sure to print a new fee invoice each time that you drop or add courses. You are advised to print a copy of the new course schedule and Fee Invoice for your records.
To know how much your tuition costs,
- Log into myUCF and click “Student Self Service” and then “Student Center”.
- Under the “My Account” section Click “Fee Invoice”
- Select the term you wish to view.
- After initially registering for courses, be certain to generate and print a new Fee Invoice each time that you drop or add a course. You may see and print a Fee Invoice at any time after initial enrollment; adding or dropping a course is not required.
How to view and print your class roster in myUCF
To view the class roster:
- Navigate to my.ucf.edu.
- Log in with your NID and password (if you have forgotten your password, go to myid.ucf.edu)
- In the myUCF Menu, click “Faculty/Advisor Self Service” near the top left
- Click on “Instructors”.
- Next, select “View My Teaching Schedule”.
To print class roster:
- At the top of the roster table, to the right of “Enrolled Students”, is “Customize | Find | Download”. Click “Download”.
- Click the radio button to select whether to open the file or save it locally.
- Click OK
How to check your application status on ucf portal
To check on the status of your application for admission, follow the instructions below:
- Go to the myUCF portal and sign on using your NID and NID password.
- Once you sign on to your myUCF account, click on the “Student Self Service” link.
- Then select “Undergraduate Admissions” (Graduate applicants should click “Graduate Students”).
- Finally, click “Application Status” to open your Application Status page. This should bring up not only your application status, but also any and all documentation we have received.